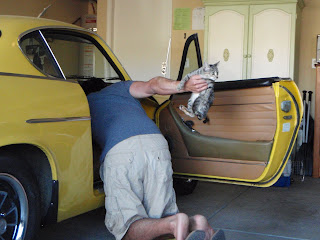
Step 1: Remove Cat.
 | Step 2: Remove Seats.
 |
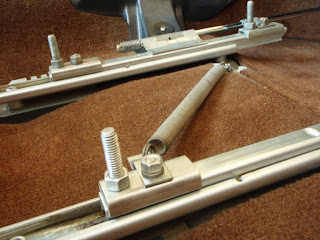
 Step 3: Remove Seat Mounts.
This is what 38 years of gunk looks like! Upon removing the seats, I discovered the condition the seat mounts were in! They were in working condition, but covered with a thick layer of grease and dirt. Although easily out of sight once the seats were put back in, my OCD was kicking into gear and I just had to do something about the mounts. I discovered that white lithium grease works great as a solvent to clean and polish up the steel parts.
Step 4: Recondition Seat Mounts. A couple of episodes of lion chasing antelope on the Discovery channel and 4 beers later, and the seat mounts were looking a whole lot better.
Before:
 | After:
 |
Before:
 | After:
 |
Step 5: Recondition Seats. This process involved the use of Lexol's leather cleaner and leather conditioner to clean the seats and to restore the oils originally used in the tanning process. This stuff works great! The leather feels fresh and softer to the touch after application. Although difficult to tell from the following photos in their reduced size (click to enlarge), all the old oxidized bolts attaching the seat to the seat frame were also removed and replaced with brand new stainless steel bolts ... which were easily attainable from the local ACE Hardware store. All the chrome parts also got a good polishing to restore their original shine.
Before:
 | After:
 |
|
Step 6: Reinstall Seats. | |
 |  |
Step 7: Reinstall Cat. | |

